
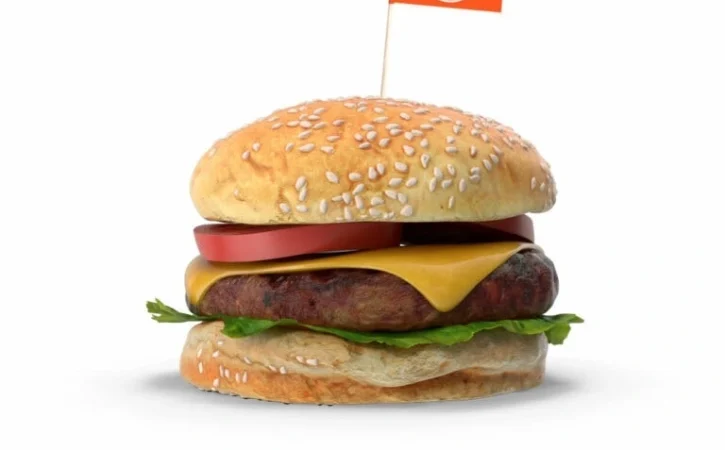
How to make a toothpick flag at home?
If you are wondering how to make a toothpick flag, you will be happy to know that it is a simple and enjoyable DIY project. Small flags attached to toothpicks are perfect for cupcakes, sandwiches, cocktails, appetizers, party platters, and promotional events. They add a creative touch to food while making celebrations more colorful and memorable.
Whether you are preparing for a birthday party, wedding, business event, or holiday gathering, homemade flag toothpicks are affordable and easy to customize. You only need a few basic supplies and a little creativity to create attractive mini flags that suit any occasion.
If you prefer professionally printed designs for large events, Custom Tooth Pick Flag also offers high-quality custom options with vibrant printing and durable materials.
What Materials Do You Need?
Before you begin, gather these simple supplies:
- Wooden toothpicks
- Colored or white paper
- Printer (optional)
- Scissors
- Glue stick or double-sided tape
- Ruler
- Pencil
- Markers or colored pens
- Decorative stickers or stamps (optional)
Most of these materials are already available at home, making this a budget-friendly craft project.
How to Make a Toothpick Flag Step by Step
Making your own flag toothpicks only takes a few minutes.
Step 1: Design Your Flag
Decide what you want your flag to display. You can create:
- National flags
- Birthday messages
- Company logos
- Wedding initials
- Holiday themes
- Sports team colors
- Cartoon characters
You can either draw the design by hand or print it using your computer.
Step 2: Cut the Paper
Using scissors, cut small rectangles from your paper.
A common size is approximately:
- 4 cm long
- 2 cm high
The rectangle should be long enough to fold neatly around the toothpick while leaving enough visible space for your design.
How Do You Attach the Flag to the Toothpick?
Lay a toothpick in the center of the paper rectangle.
Fold one half of the paper over the toothpick until both sides align perfectly.
Apply glue or double-sided tape inside before pressing the paper together.
Hold it firmly for a few seconds until it sticks securely.
Your homemade flag toothpicks are now ready for trimming.
How Can You Shape the Flag?
Once the glue dries, trim the open edge into any shape you like.
Popular styles include:
- Rectangle
- Triangle
- Swallowtail
- Curved edge
- Wavy cut
A swallowtail design gives your flags a professional appearance and is commonly used for decorative food picks.
How Can You Decorate Your Toothpick Flags?
This is where your creativity shines.
You can decorate your flags with:
- Handwritten names
- Birthday wishes
- Small drawings
- Glitter accents
- Metallic markers
- Washi tape
- Printed photos
- Company branding
Personalized designs make every celebration feel unique and thoughtful.
Where Can You Use Flag Toothpicks?
There are countless ways to use homemade flag toothpicks around your home or event.
Some popular ideas include:
- Sandwich decorations
- Cupcake toppers
- Cheese platters
- Fruit trays
- Cocktail garnishes
- Dessert tables
- Wedding receptions
- Corporate catering
- Baby showers
- Graduation parties
Even simple snacks look more attractive with colorful miniature flags.
What Paper Works Best?
Choosing the right paper improves both appearance and durability.
Good options include:
- Cardstock
- Glossy photo paper
- Matte printer paper
- Kraft paper
- Colored craft paper
Cardstock is often the best choice because it stays upright without bending easily.
How Can You Print Professional Designs?
If you want a polished finish, use design software such as:
- Canva
- Microsoft Word
- Adobe Illustrator
- PowerPoint
Create several small flag templates on one sheet before printing.
This method saves paper and allows you to produce many matching flag toothpicks quickly.
How Can You Make Toothpick Flags More Durable?
If your flags will be displayed for several hours, consider these simple improvements.
- Use thicker paper.
- Apply a thin layer of clear adhesive film.
- Print with waterproof ink if possible.
- Allow glue to dry completely.
- Store finished flags in a dry place.
These steps help maintain a neat appearance throughout your event.
What Mistakes Should You Avoid?
When learning how to make a toothpick flag, beginners often make a few common mistakes.
Avoid these issues:
- Using paper that is too thin
- Applying too much glue
- Cutting uneven flag shapes
- Printing low-resolution images
- Folding the paper off-center
- Rushing before the glue dries
Paying attention to these details creates a cleaner and more professional result.
Why Are Homemade Toothpick Flags Popular?
Homemade decorations offer several benefits.
They are:
- Affordable
- Easy to customize
- Fun for children and adults
- Perfect for themed events
- Great for personal gifts
- Ideal for small businesses
Many cafés, bakeries, and catering companies also use flag toothpicks to strengthen their branding while enhancing food presentation.
When Should You Consider Professional Custom Flags?
DIY flags work well for family gatherings and small parties. However, businesses often need consistent quality, vibrant colors, and large quantities.
For promotional events, restaurants, bakeries, and corporate branding, professionally printed products provide a polished appearance that leaves a lasting impression. Custom Tooth Pick Flag offers customized solutions that help businesses showcase their logos and messages with premium-quality printed toothpick flags suitable for any occasion.
Conclusion
Learning how to make a toothpick flag is a fun and rewarding DIY project that anyone can complete with basic craft supplies. Whether you are decorating cupcakes, sandwiches, cocktails, or party platters, homemade flag toothpicks instantly add charm and personality to your presentation.
By following the simple steps above, you can create attractive mini flags that match any celebration or event theme. For personal projects, homemade designs are a creative solution, while professionally printed options from Custom Tooth Pick Flag are an excellent choice when you need larger quantities or premium-quality branding. With a little imagination, these tiny decorations can make a big impact at any gathering.

POPULAR POST

Which Health Plans Offer Pet Health Insurance

Pet Insurance Is Easy As AKC

Finding Discount Pet Supplies